This post describes the steps required to run a QuantConnect backtest on a desktop workstation using the Lean engine “backtesting-desktop” configuration. First published 30 June 2016.
The steps include: Install lean project from github; modify config file, build and run the console version on desktop.
Computing environment is desktop, Windows10 with visual studio community 2015 installed.
Note the development environment shown in some screen shots below is configured as:a workgroup workstation with Windows 10 running Remote Desktop Connection to a VM with Windows 10 and Visual Studio Community 2015 installed, hosted by Hyper-V on 2012R2 server.
Steps
- Get your QuantConnect user Id and api access token
- Download Lean project from github to desktop
- Open solution in VS Community 2015.
- Edit config.json to include your user id and quantconnect api access token
- Build and run solution
Get your QuantConnect user Id and api access token
How to get your user id and api access token is described here:
backtesting-desktop environment
Note the need to use Chrome to access quantconnect.com/terminal not Microsoft’s IE or Edge browsers.
Record user id, api-access-token so they can be edited into config.json file later.
Download Lean Project
Navigate to https://github.com/QuantConnect/Lean
Click Clone or download button

Download Zip
Copy from PC > downloads to a preferred directory e.g. C:\ .. \Source\Repos\lean and unzip.
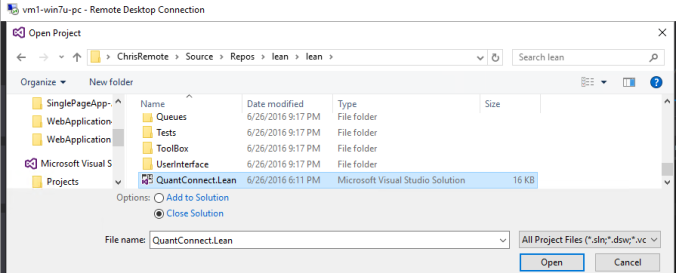
Open solution on desktop using VS Community 2015
Navigate to VSC 2015 > File > Open

Select Project/Solution, navigate to unzipped source file location and to QuantConnect.sln (Microsoft Visual Studio Solution) file, to open.
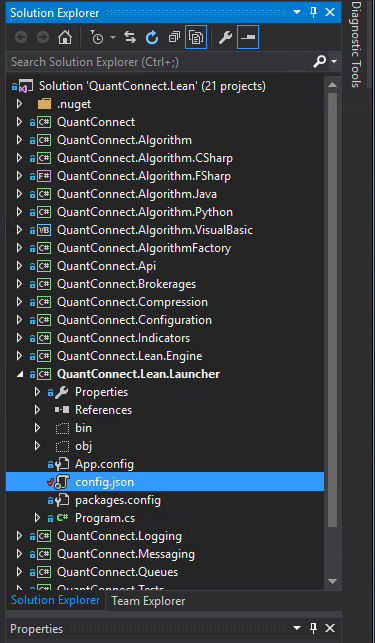
Solution QuantConnect.Lean is loaded into VS. Solution Explorer window displays folder hierarchy.
Confirm download and VSC installed correctly
To confirm project download and VSC installed correctly click VSC > Start button (green triangle) to build and run the Lean solution:

Build output goes to VSC Output window which shows the number of projects compiled, two successful builds shown here. A build of the full solution is about 17 projects (depending which software languages are included).

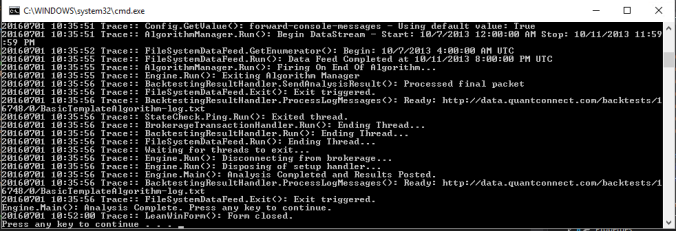
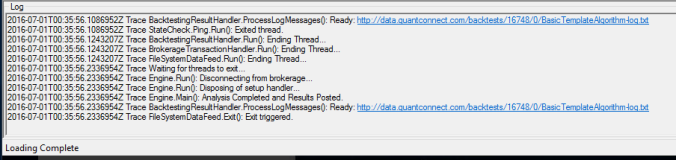
VSC then runs the Lean engine build with desktop configuration which results in Lean engine log output to console window like this:
Lean engine output to console window is also recorded in log.txt located at:

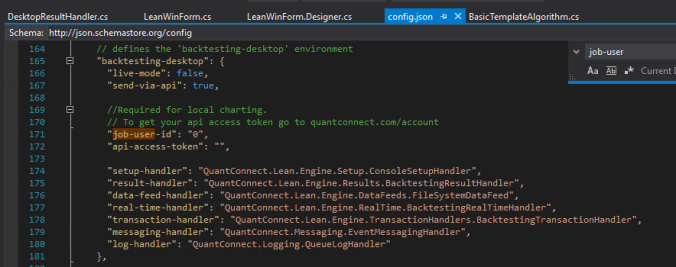
Edit config.json
In Solution Explorer navigate to QuantConnect.Lean.Launcher > config.json
Two edits are required, user id and api-access-token
Set environment parameter to “backtesting-desktop”

Like

Edit backtesting-desktop environment parameters
Update job-user-id, api-access-token
Something like this –

Click the VS start button again. The VS build output window shows something similar to:
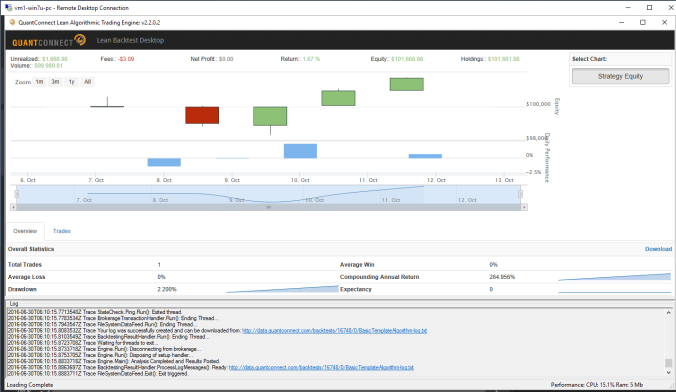
Lean engine then opens a console window to display engine log output in lower pane ( log is also written to a file – as per above):
Lean engine then displays chart in top pane.
Error Dialogs
Missing userId and api-access-token parameter values
Two separate error messages similar to this appeared when userId and api-access-token parameters in config.json were set to empty string values:
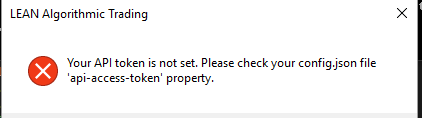
Work around: add your credentials from quantconnect.com – see notes above for how to find credentials.
First run of Lean-engine can result in error messages
Script errors similar to these:
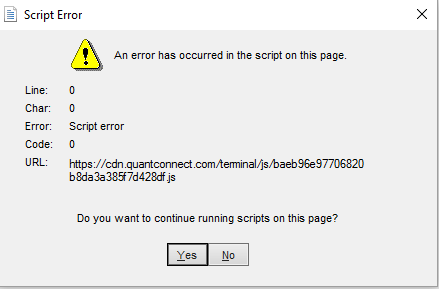
Clicking yes through another more script error got to:

Work around: Click VSC green start button again. The console version of the lean engine came up and displayed chart.
END